iOS and Android · Aspect Preview 40
Even though the two apps seem very similar on the surface, they are actually working quite differently. In fact, the Android app has existed in the shadows for a while already and can be used safely for setting up an automatic import in the desktop app - the phone simply appears as another storage volume in the file system pane after the pairing process.
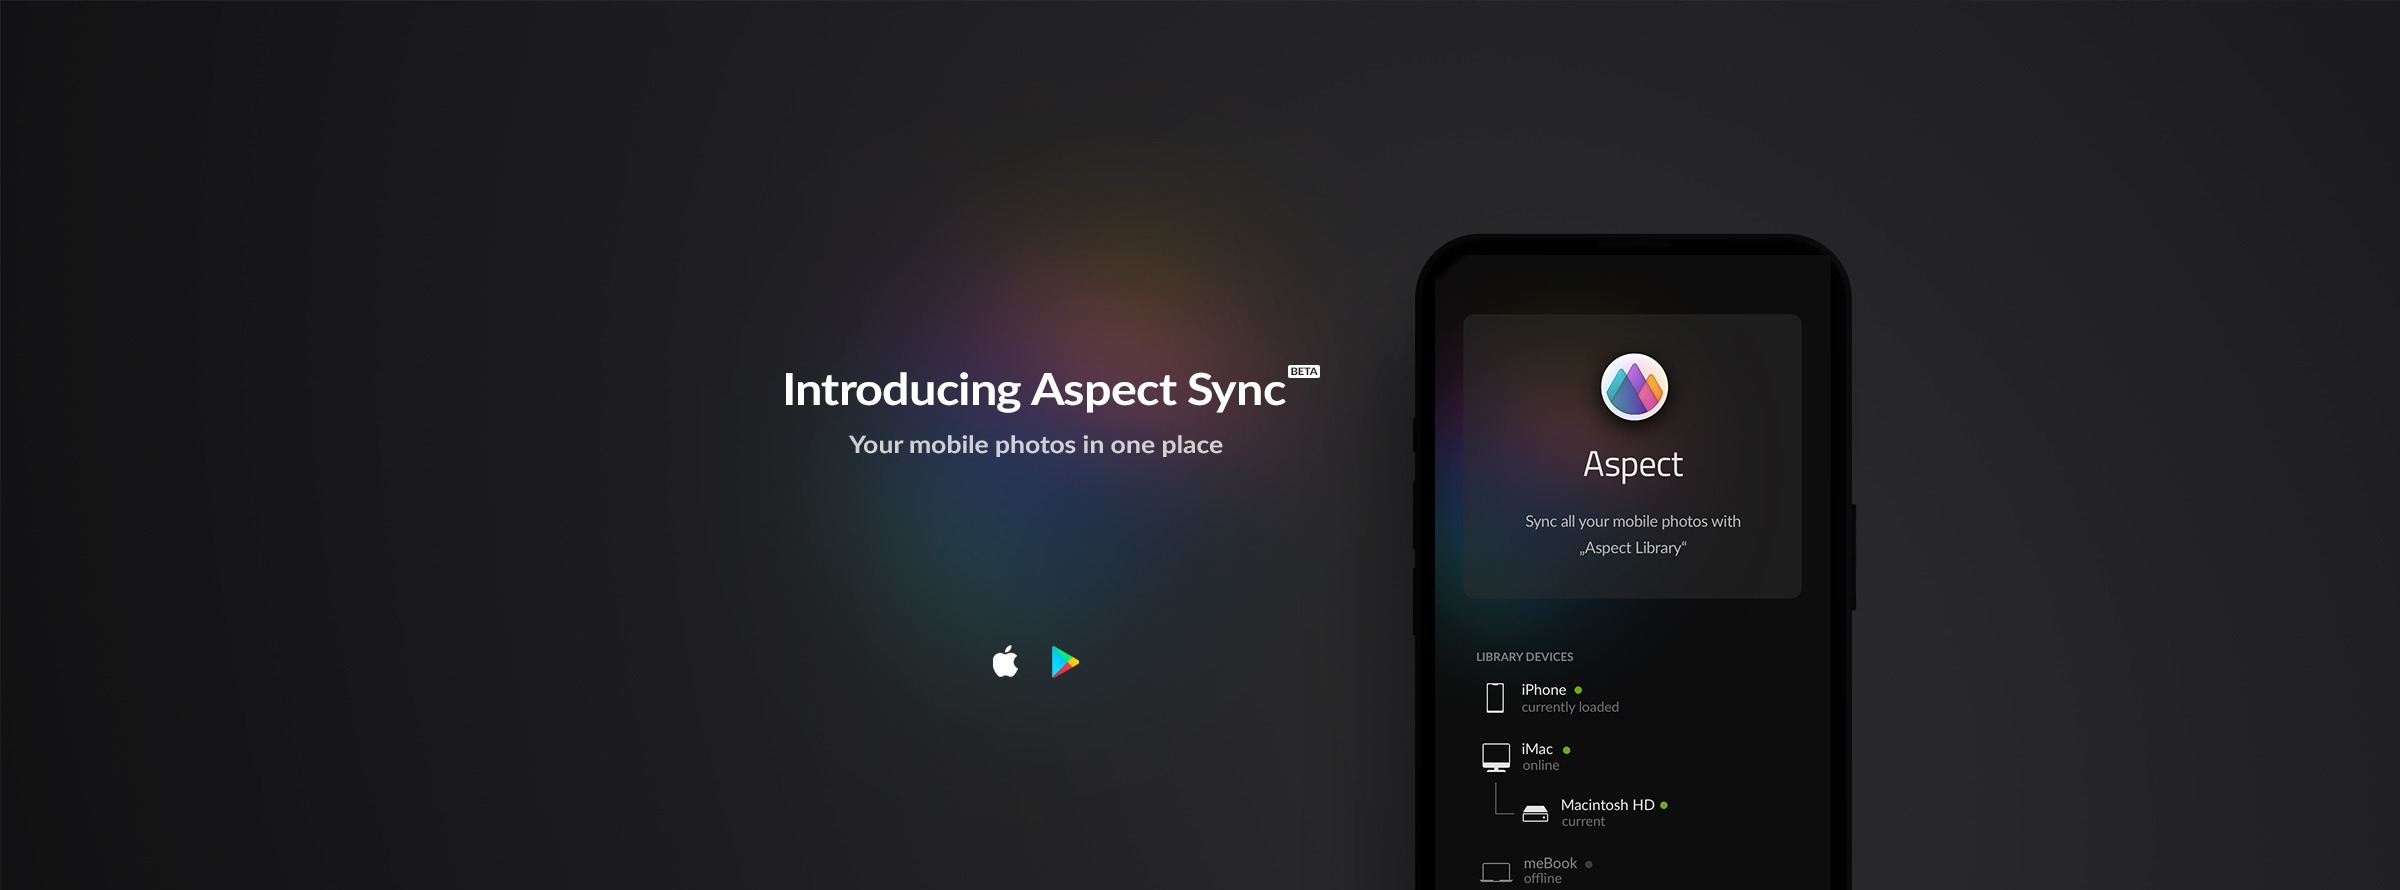
The iOS app on the other hand is actually a full version of Aspect hidden under a very simple user interface and uses the peer-to-peer library synchronization of Aspect. The photos contained in the Apple Photos library will automatically be imported into the Aspect library and will then be transferred to the desktop app as part of the regular library synchronization process.
Note that since network synchronization, as of this release, is still considered experimental, extra care should be taken to keep a backup of the images in the synchronized Aspect library!
Getting Started on Android
- Get the Aspect Sync app from Google Play Store
- Open the app on your phone and make sure that you are in the same local network as the computer you are trying to connect to
- On your computer, open up Aspect and click the device icon
 on the top-right — you should see your phone listed in the popup list that comes up
- Click on the “connect” button next to the device name and then enter the code that is being displayed on your phone
- The connection should be successful — click on “Show files” to open the phone storage in the folder browser
- Navigate to the folder that contains the photos on your phone, for example “storage/emulated/0/DCIM”, click the “Add to library” button at the top-right of the center pane and choose “Import photos from folder (…)”
- Enable the “enable automatic import” switch and click “Import all”
Now, all existing photos and videos should be in the process of being imported, and any newly taken photos will be imported automatically in the future, as soon as the Aspect Sync app gets opened on the phone.
Getting Started on iOS
- Get the Apple TestFlight app from the App Store
- Install the Aspect: Photo Sync Companion TestFlight release
- Open the app and make sure that you are in the same local network as the computer you are trying to connect to
- On your computer, open up Aspect and click the device icon
 on the top-right — you should see your phone listed in the popup list that comes up
- Click on the “connect” button next to the device name and then enter the code that is being displayed on your phone
- The connection should be successful — click on “Invite to library” to send an invitation to the phone for the currently loaded library
- On the phone, accept the invitation
A new instance of the library will now be created and photos from the Photos app will be imported. This process can take a long time, depending on how many photos are stored on the phone. Once the import has finished, the desktop app will automatically show the photos after the next synchronization.
Other Improvements in the Desktop Version
The desktop app has received a rather large chunk of bug fixes and improvements. Synchronizing libraries over the network in particular is now faster and more robust. Also, all local library instances, for example those on connected external USB drives, are now monitored for changes instead of only the one that is currently loaded. Furthermore, the layout of the device pane has been improved to provide a better visualization of devices and the library instances that they store.
Handy while trying out the application using small test libraries, there is now a new “Delete library…” menu entry. This allows to delete a library, removing all traces, such as the .aspectnode files written to scanned folders outside of the library folder, allowing them to be re-added as scanned folders for other libraries. The contents of the library folder itself will be moved to the system trash, so that they can be reviewed before deleting them permanently. There will also be a warning before any actual images get deleted.
Apart from that, there are a bunch of crash fixes and enhancements throughout the user interface. The full list of changes can be found in the change log.

2 comments
Downloaded TestFlight and the aspect app to my iPhone16 running iOS 18.5. Launching Aspect shows it's splash screen and then immediately quits.
The latest TestFlight release (40) includes two fixes for two unrelated crashes and should run normally again.